Prices incl. VAT plus shipping costs
currently not in stock
Delivery time 12 Workdays
- Order number: 00801500
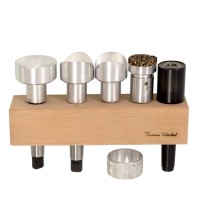
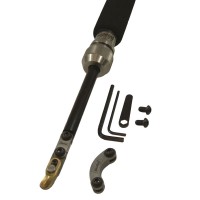
This ball turning set for hands-free turning of balls is for balls with one diameter optimised from 74mm. With a little practice, balls with a diameter of 50 to 100mm can also be turned with it.
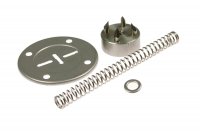
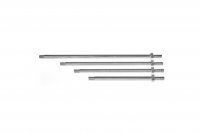
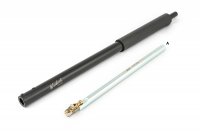
Scope of delivery:
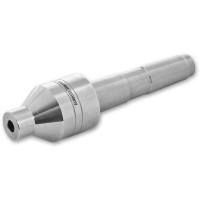
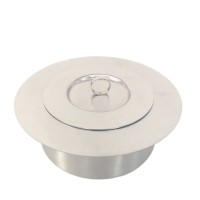
- Clamping device for the headstock with MT2 holder
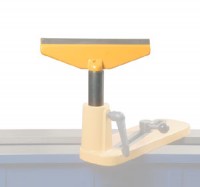
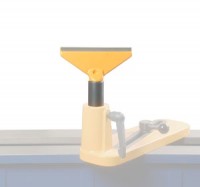
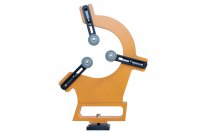
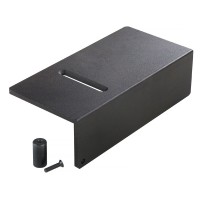
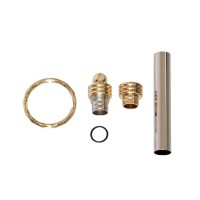
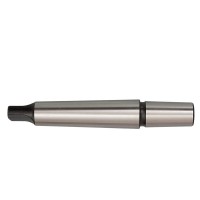
- Holder for the clamping device and for the spring-loaded tip for the tailstock with MT2 holder
- Locking or clamping ring for the tailstock side
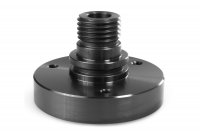
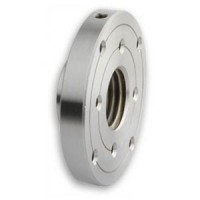
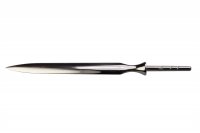
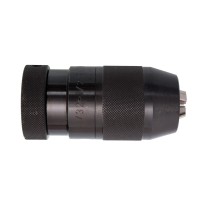
- Ball chuck (headstock side) with MT2 mount
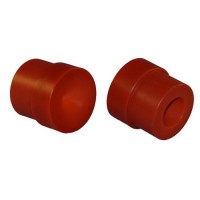
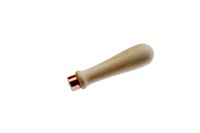
- Spring-loaded "tip" covered with rubber cork (tailstock side)
Step 1 (preparation of ball blanks):
The blanks should have a diameter of at least 50 and a maximum of 100mm and the length should be the same as the diameter. It is most effective to turn an exactly cylindrical roller between the tips and then saw the roller into pieces of the appropriate length.
Step 2:
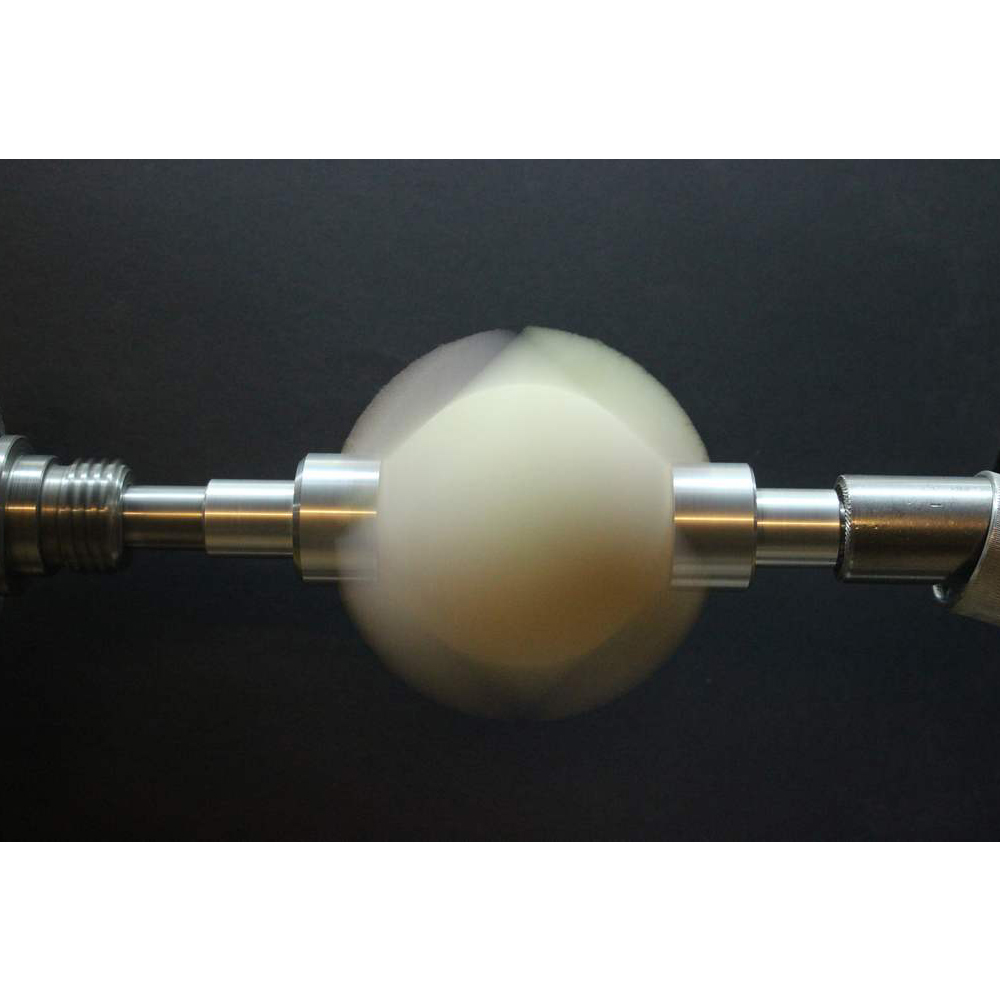
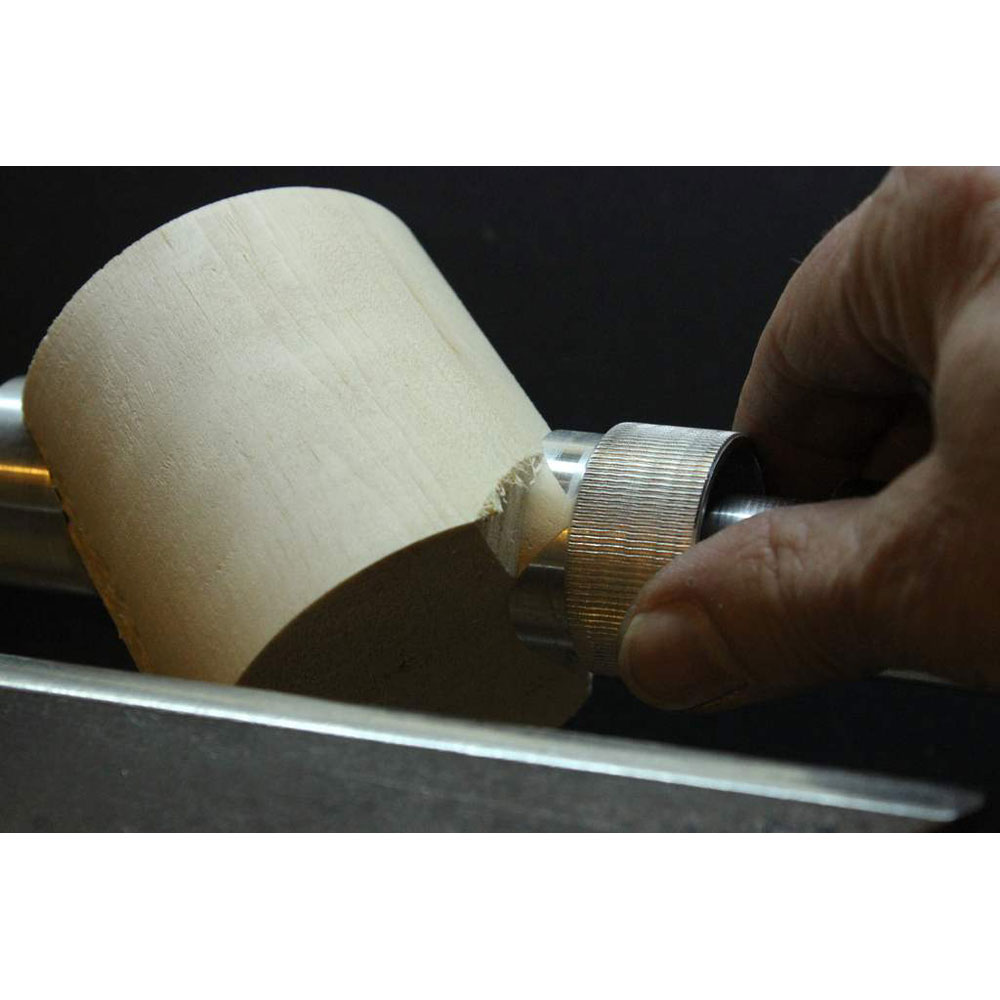
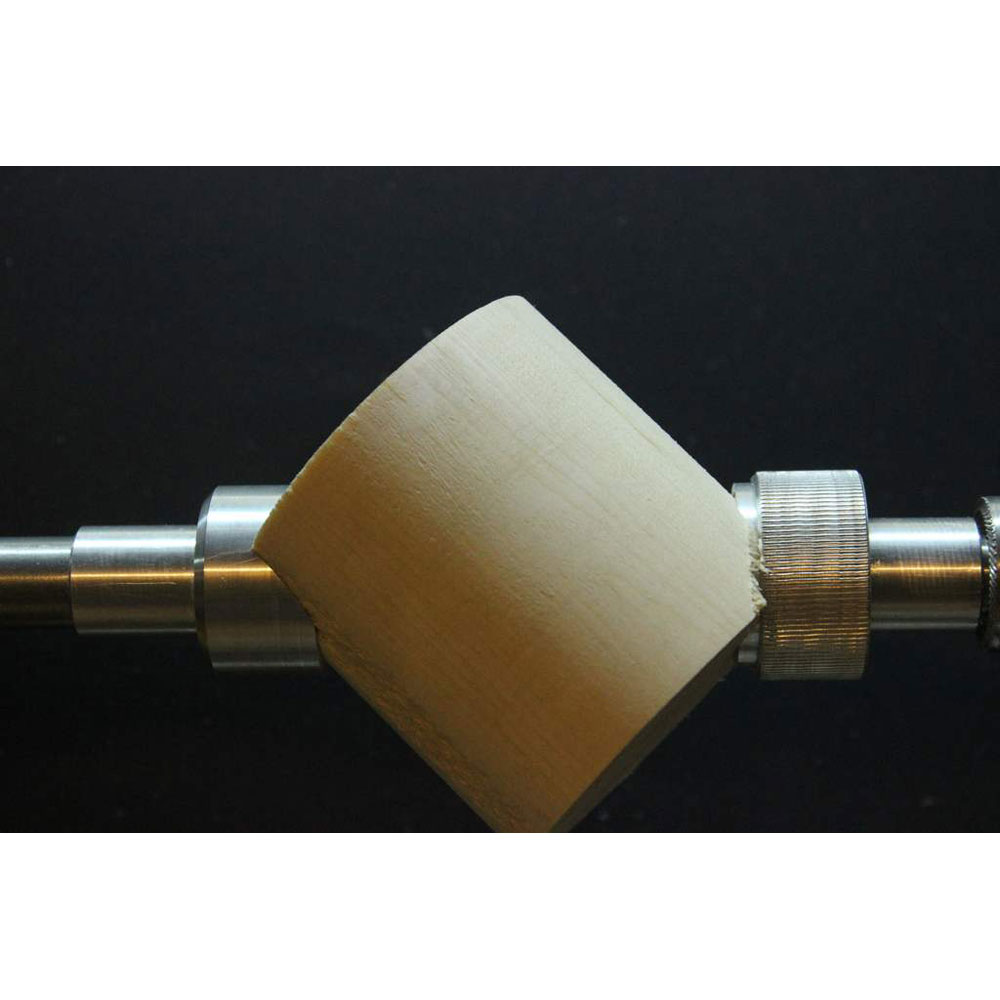
The blank is clamped diagonally (45°) in the clamping device between the tips. The knurled locking or clamping ring (included in the scope of delivery) should already be loosely attached to the device on the tailstock side. If you switch on the machine, the contour of the future sphere can already be seen at the appropriate speed and the appropriate incidence of light. With a suitable tool (e.g. cutter or slot steel), the wood on the tailstock side is turned down a little to the outside diameter of the clamping device. The lathe is stopped and the locking ring is pushed over the clamping device and the turned end of the blank. The blank is thus secured and cannot be unscrewed from the device during further processing.

Step 3:
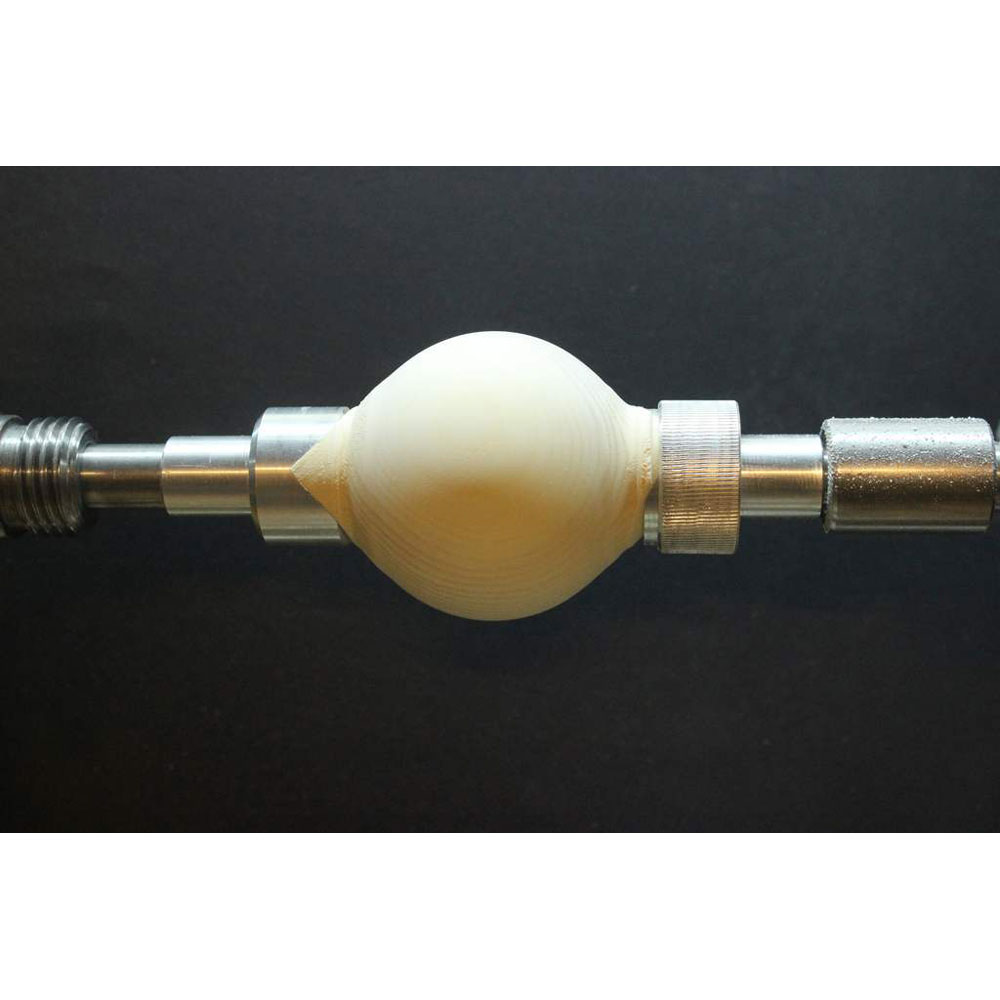
Now the contour of the ball that is visible during rotation is turned off with a chisel or a spindle gouge and then ground clean. If you use a metal ring of a suitable size (slightly smaller than the ball diameter) to press the abrasive on, you will achieve a higher accuracy of the spherical shape. This facilitates the subsequent reclamping and perfects the final spherical shape.
Step 4:
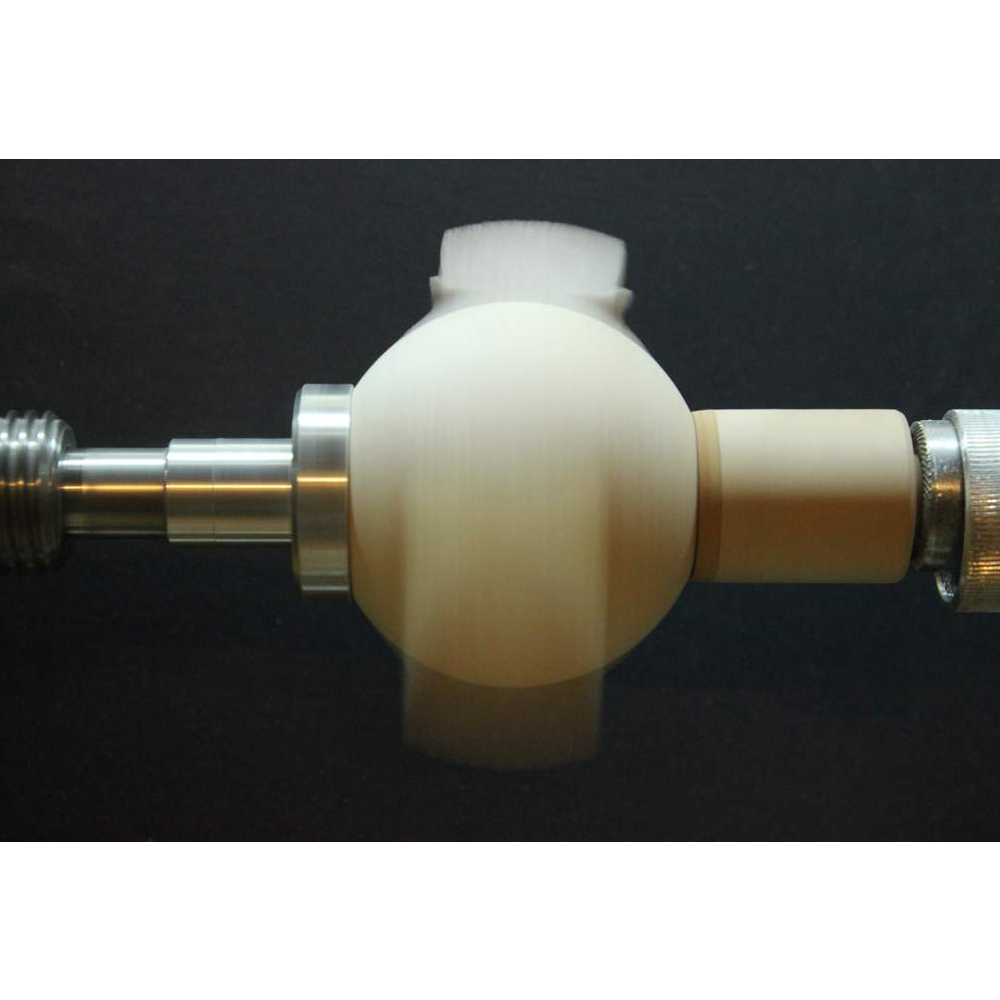
The partially finished ball is now unclamped and the holder in the headstock is replaced by a ball chuck (concave outside) and the holder in the tailstock is replaced by the spring-loaded attachment with rubber cork. The partially finished ball is rotated by 90° and clamped securely and centred between these two recordings.
Step 5:
If you turn the lathe on again, the spherical shape can again be clearly seen and the spherical shape is finished with a suitable tool. The finished ball is then gradually ground with finer and finer abrasives - that's it!
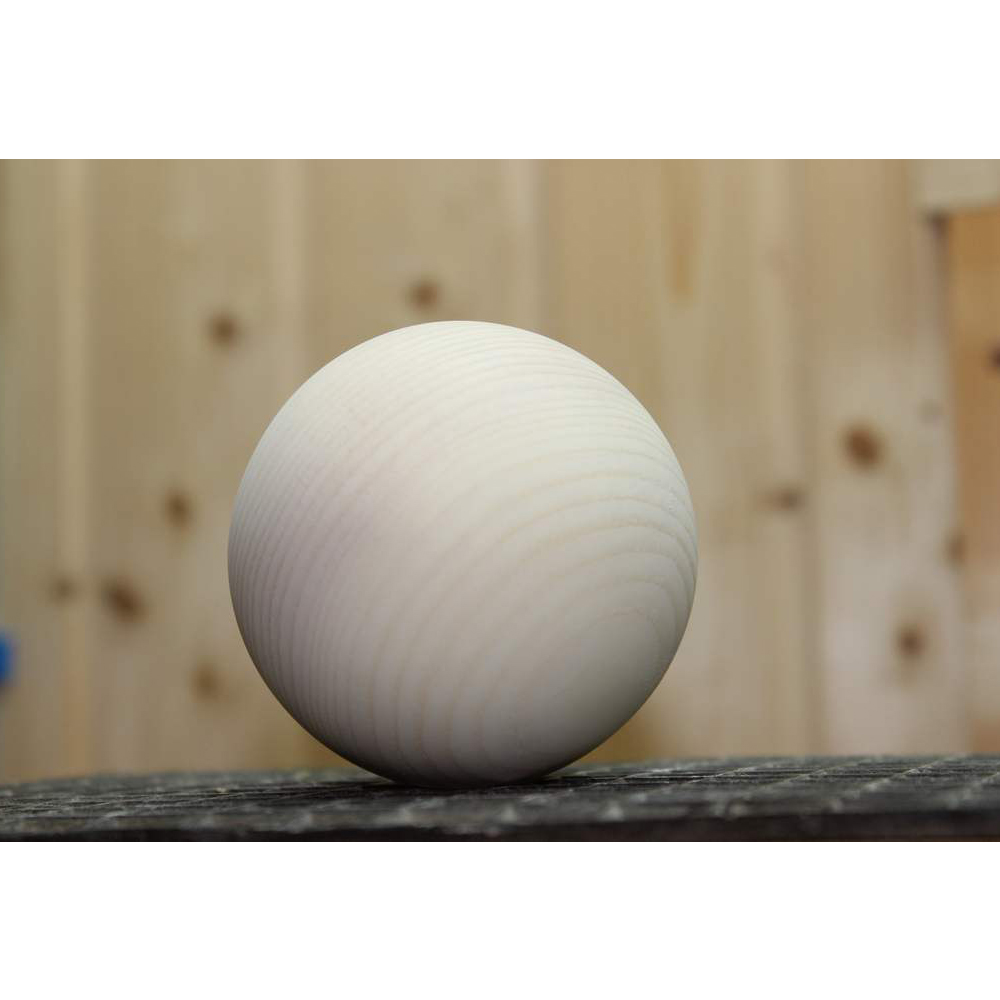
This smart device for turning balls was developed by Thomas Häckel, www.drechsler-wissen.de .

